The Quick-Start card in the box
Every ticker ships with one printed card, front and back. The front is the Quick-Start Guide; the back explains the same thing without the jargon. Both sides are here, as pictures and as the file itself, for anyone who has lost the card or would rather read it on a screen.
The front: Quick-Start Guide
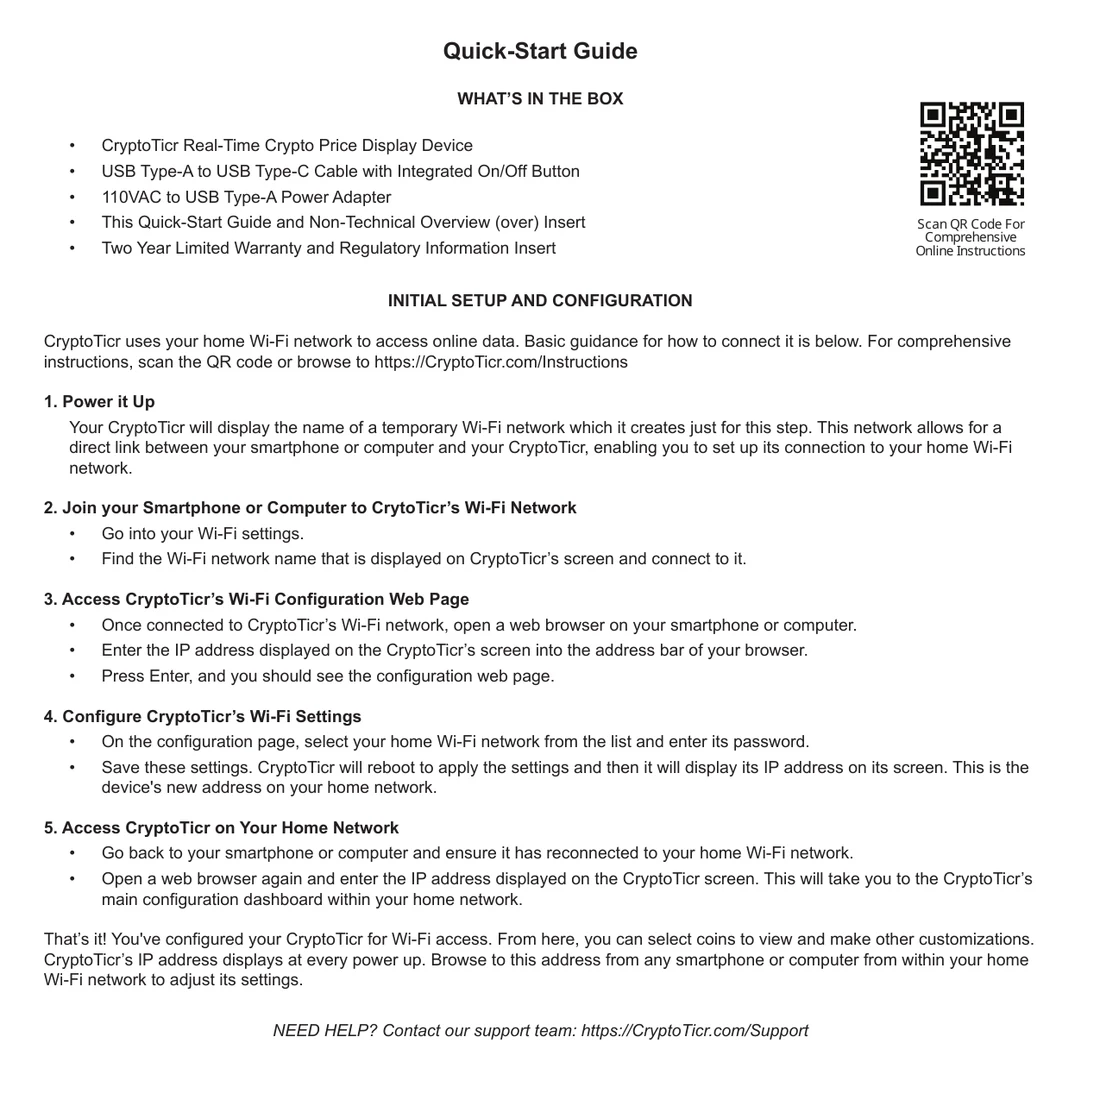
View or download the Quick-Start side (PDF)
What’s in the box
- The CryptoTicr itself.
- A USB Type-A to Type-C cable with an on/off button in the lead.
- A 110 V AC to USB Type-A power adapter.
- This Quick-Start card, with the plain-English overview on the back.
- The two-year limited warranty and regulatory card.
The five steps, as printed
- Power it up. The ticker shows the name of a temporary Wi-Fi network it makes for this one job. That network is how your phone talks to the ticker directly.
- Join that network. Open your phone’s Wi-Fi settings, find the name on the ticker’s screen, and join it.
- Open the ticker’s setup page. With your phone on that network, open a browser and go to the address the ticker shows.
- Give it your Wi-Fi. Pick your home network from the list, type its password, and save. The ticker restarts and shows its new address on your home network.
- Come back on your own Wi-Fi. Let your phone rejoin your home network, then open that address to reach the settings page.
The back: the same thing in plain English
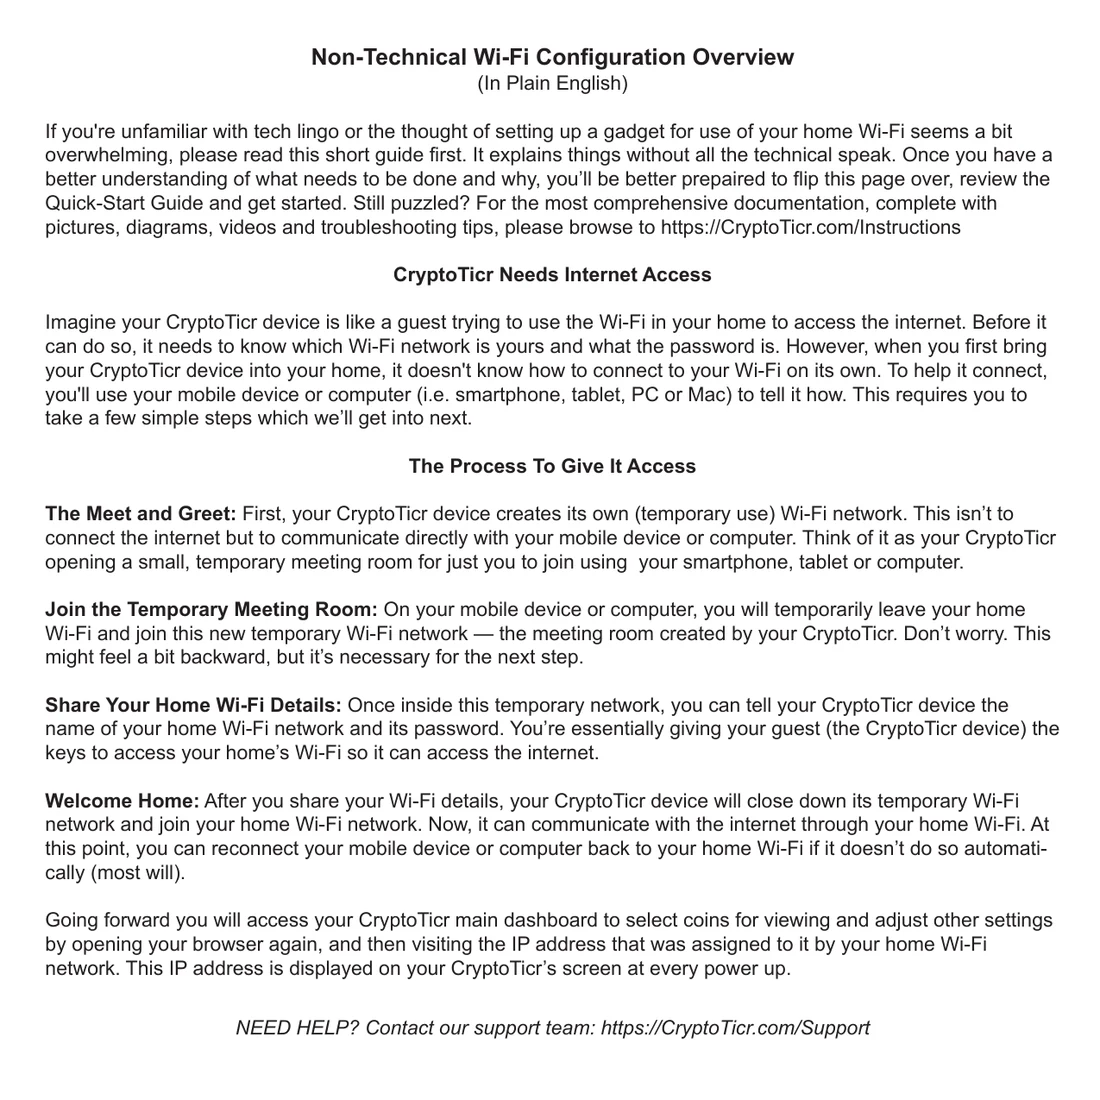
View or download the plain-English side (PDF)
The whole of that side is on Wi-Fi setup in plain English.
What has changed since the card was printed
The card is still right about the shape of the job. Two details on the ticker are friendlier now than the card describes:
- The setup page usually opens by itself. On most phones, joining the ticker’s network pops the page up without you typing anything. The ticker says so on its screen, and gives the address to type only if the page does not appear. That address is
192.168.4.1, and it is shown as a QR code too. - The ticker now explains itself while you work. It shows what it is doing at each step, names the network it is joining, and says what went wrong if a join fails, rather than leaving you to guess. Every one of those screens is on Screen messages during setup.
The current step-by-step, with a picture at each step, is Quick start.